Oil Pan Gasket Leak Symptoms: Diagnosis, Replacement Cost & Repair Guide (2026)
Oil Pan Gasket Leak Symptoms: Diagnosis, Replacement Cost & Repair Guide (2026)”>oil pan gasket leak symptoms.
Friendly master auto mechanic (simple, clear, conversational, natural English).
Oil Pan Gasket Leak Symptoms: Diagnosis, Replacement Cost & Repair Guide (2026)
There is a specific kind of sinking feeling every car owner knows. You walk out to your driveway on a bright, sunny morning, expecting to see your car sitting ready for the day, but instead, you find a dark, shimmering puddle resting right under the engine. Your heart drops because you know that “liquid gold”—your engine oil—is escaping where it’s supposed to stay.
While a leak could be coming from a dozen different places, one of the most common culprits I see in the shop is a failing oil pan gasket.
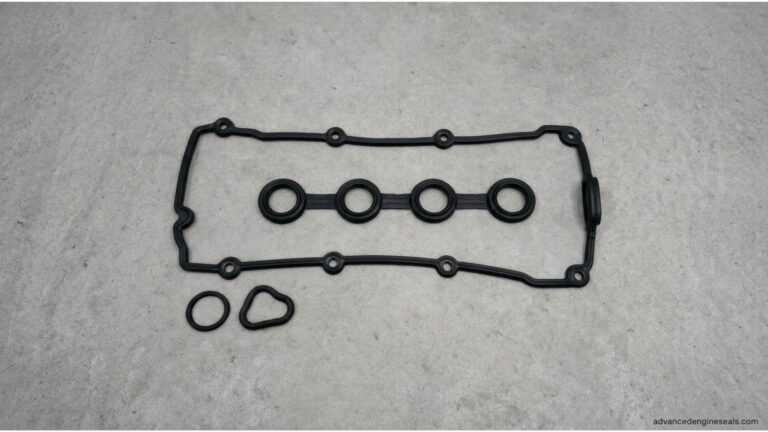
The oil pan gasket has a big job. It’s the seal that sits between the bottom of your engine block and the oil pan itself. Its whole purpose is to keep all that vital lubrication trapped inside the engine. Without a tight seal, you aren’t just looking at a messy driveway; you are looking at a potential engine-killing catastrophe. If that oil level drops too low, your engine components will start grinding against each other without protection, and that’s a repair bill no one wants to see.
In this guide, I’m going to walk you through the most common oil pan gasket leak symptoms, show you how to diagnose the problem like a pro, and give you a roadmap for the repair so you can decide whether to grab your wrench or call in a professional.
What are the Common Oil Pan Gasket Leak Symptoms?
Because the oil pan is tucked away at the very bottom of your engine, these leaks can be tricky. Sometimes they are obvious, and sometimes they hide in plain sight. Here is what you need to keep an eye out for.
1. Visible Oil Puddles Under the Vehicle
This is the “smoking gun.” If you notice a pool of oil on your garage floor or driveway, you definitely have a leak. The color and consistency can tell you a lot. Fresh oil is usually amber or light brown, while older oil is thick and black. If the puddle is large, you have a serious leak that needs immediate attention. If it’s just a slow drip, you might have some time to plan a repair, but don’t let it get too comfortable.
2. The “Burning Oil” Smell
Have you ever been driving and noticed a weird, acrid smell—sort of like burning toast or hot metal—wafting through your air vents? This is a massive red flag. When an oil pan gasket fails, oil often seeps out and drips directly onto the hot exhaust manifold or the exhaust pipe. As that oil hits the extreme heat of the exhaust, it burns off, creating that unmistakable scent and sometimes even a light haze of smoke coming from under the hood.
3. Smoke from the Engine Bay
If the leak gets bad enough, you won’t just smell it—you’ll see it. This isn’t the white, wispy smoke you see when you have a coolant leak (which usually smells sweet). This is typically blueish or grayish smoke caused by oil hitting the hot metal of your exhaust system. If you see smoke rising from the bottom of the engine while you’re idling at a red light, stop driving. You want to prevent an engine fire.
4. Low Oil Levels and Pressure Warnings
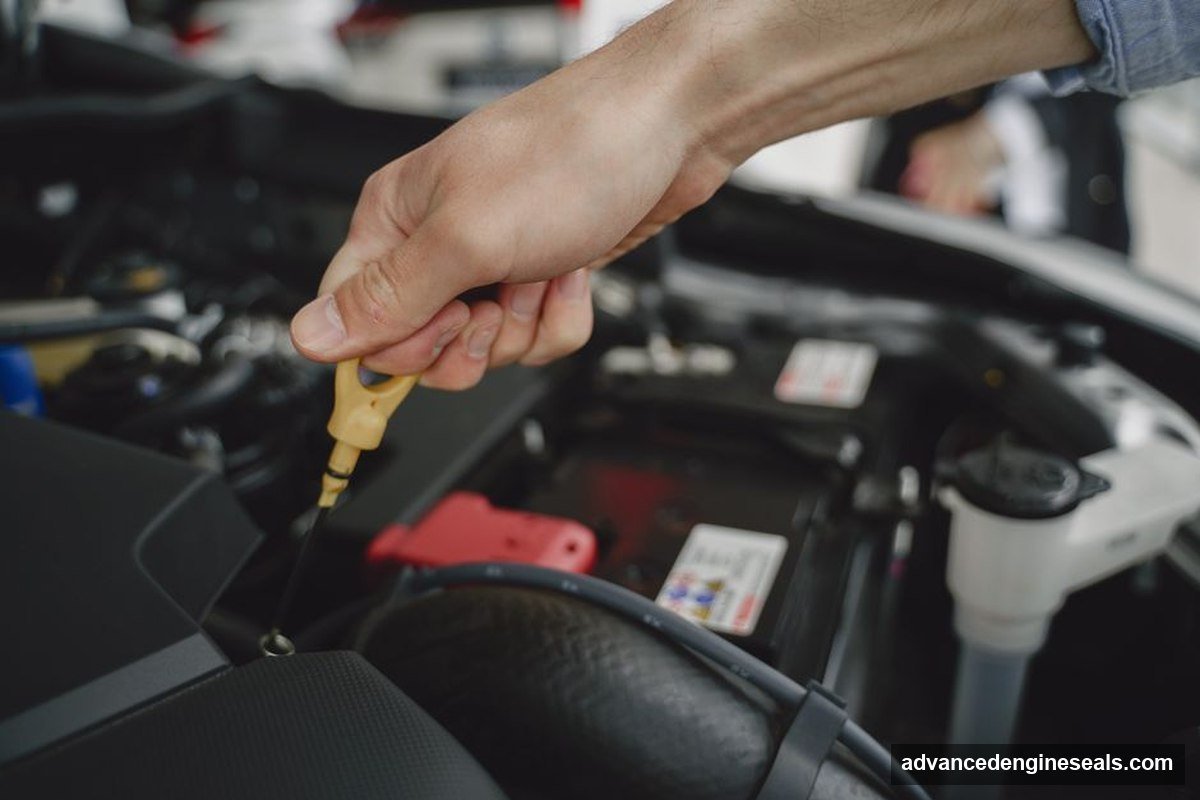
If you find yourself topping off your oil every few weeks, you have a leak somewhere. If the leak progresses, your oil level may drop below the “minimum” mark on your dipstick. Modern cars are pretty smart, though—they have oil pressure sensors. If the leak becomes severe enough to compromise the engine’s ability to maintain pressure, your dashboard will light up with a red oil can icon. If that light comes on, pull over immediately. Running an engine with low oil pressure can lead to a total engine seizure in a matter of minutes.
Pro tip: Always check your oil level using the dipstick before assuming a leak is getting worse. Sometimes, we simply forget to check the level after a long trip, leading to a false sense of alarm.
How to Diagnose an Oil Pan Gasket Leak (Step-by-step)
Before you go out and buy parts, you need to be 100% sure that the oil pan gasket is the problem. I’ve seen plenty of folks replace a gasket only to find out the leak was actually coming from a valve cover way up top, with the oil just running down the side of the engine to the pan.
Here is how I recommend you perform an oil leak detection check:
- The Big Clean: This is the most important step. You can’t find a leak on a dirty engine. Use a high-quality engine degreaser and a soft brush to clean the entire bottom area of the engine. You want the oil pan and the surrounding engine block to be bone-dry and free of all that old, caked-on grime.
- Dry it Completely: Use compressed air or a clean, lint-free rag to make sure no degreaser or water is trapped in the crevices.
- The Run Test: Start your car and let it idle for about 10 to 15 minutes. If you can, give it a little bit of gas to increase the oil pressure inside the engine.
- The Flashlight Technique: Take a bright LED flashlight and get close to the engine. Inspect the seam where the oil pan meets the engine block. You are looking for “wet” spots, fresh oil weeping from the seam, or oil running down the sides of the pan.
If the oil is seeping directly from that seam where the two metal parts meet, you’ve found it. If the oil is coming from higher up and just “migrating” down to the pan, you need to look at your valve covers or your oil pressure sensor instead.
Repairing vs. Replacing: When is it time for a new gasket?
Once you’ve confirmed the leak, you have to decide how to fix it. You basically have three choices.
- The Sealant Fix: Some people try to use “stop-leak” additives or spray a sealant into the cracks. While these might work for a tiny, microscopic seep, they are almost never a permanent fix for a structural gasket failure. In my experience, these are just expensive band-aids.
- Gasket Replacement (The Standard): This is the professional way to do it. You remove the old, failed gasket and install a fresh one. This is the most reliable long-term solution.
- Full Pan Replacement (The “Ouch” Option): Sometimes, the oil pan itself is the problem. If your pan is dented from hitting a rock, cracked, or if the bolt holes are stripped, a new gasket won’t help. You’ll need to replace the entire oil pan.
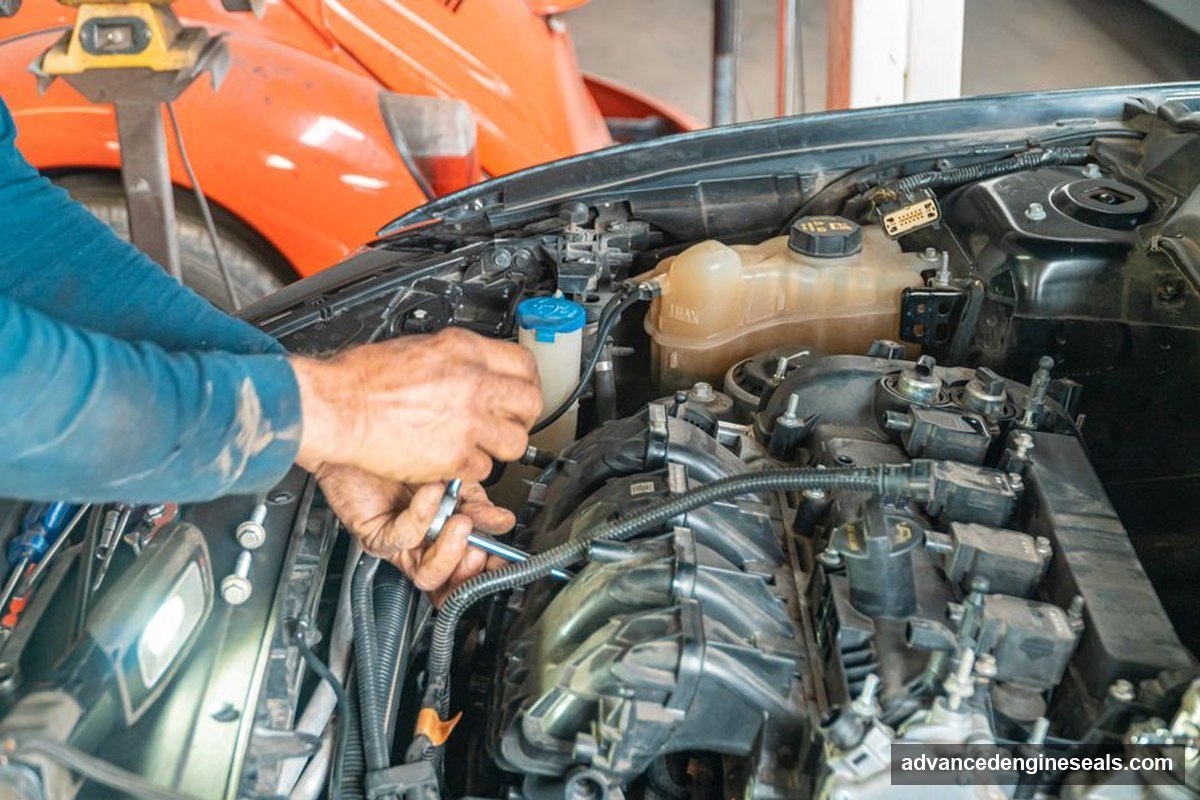
DIY vs. Professional Repair: Pros, Cons, and Cost Breakdown
Deciding whether to tackle this in your driveway or at a shop depends on your tool collection and how comfortable you are working under a vehicle.
| Service Type | Estimated DIY Cost (Parts) | Estimated Professional Cost (Labor + Parts) | Difficulty Level | Time Required |
|---|---|---|---|---|
| Basic Gasket Replacement | $30 – $80 | $350 – $600 | Moderate/High | 3-5 Hours |
| Full Pan & Sealant Kit | $60 – $150 | $400 – $750 | Moderate/High | 4-6 Hours |
| Professional Shop Labor | N/A | $200 – $450 (Labor only) | Easy (for you!) | 2-4 Hours |
Pro tip: If you are doing this DIY, don’t forget to factor in the cost of fresh oil and a new oil filter. Since you have to drain the oil to get the pan off, you’re doing an oil change regardless of whether you needed one.
Step-by-Step Oil Pan Gasket Replacement Guide
If you’ve decided to take the DIY route, listen up. Precision is everything here. If you rush this, you’ll be doing it all over again in two weeks.
1. Safety First
Park on a level surface. Use jack stands to support the vehicle—never, ever work under a car that is only supported by a hydraulic jack. Make sure the engine is cool so you don’t burn your hands on the block.
2. Drain the Oil
Find your drain plug and place a catch pan underneath. Drain the oil completely. I usually recommend removing the oil fill cap on top of the engine too; it helps the oil flow out much faster by letting air in.
3. Remove the Bolts
Using a socket wrench, remove the bolts holding the pan to the block. Here is a huge tip: Always loosen the bolts in a “crisscross” or “star” pattern. If you just go in a circle, you might warp the pan, which will cause a leak no matter how good your gasket is. Once the bolts are out, carefully pry the pan away. Don’t use a screwdriver to jam into the gap, or you might gouge the metal.
4. Cleaning (The Most Critical Step)
This is where most DIYers fail. The mating surfaces—the part of the engine block and the part of the oil pan that touch—must be surgically clean. Use a plastic scraper to get the old gasket material off, then use brake cleaner on a clean rag to wipe everything down. If there is even a tiny bit of old oil or residue left, the new seal won’t stick.
5. Applying the Sealant or Gasket
- If you’re using a pre-formed gasket: Make sure it sits perfectly in the pan’s groove.
- If you’re using RTV (Liquid Sealant): Apply a consistent, thin bead of oil pan sealant along the mating surface. Don’t go overboard. If you put too much on, the excess “squeeze-out” can fall into the pan and clog your oil pickup tube, which is a much bigger problem.
6. Reinstall and Torque
Place the pan back on the engine. Put the bolts in by hand first to make sure you aren’t cross-threading them. Then, use a torque wrench. You cannot guess this part. You must tighten the bolts to the specific torque specs found in your vehicle’s manual. Again, use a star pattern, starting from the middle and working your way out to ensure even pressure.
For more on the technical side of how these components are standardized, you can check out SAE International.
Top Recommended Replacement Brands & Products
In my shop, I don’t buy the cheapest thing on the shelf. When it comes to engine seals, you get what you pay for.
### Fel-Pro Gasket Sets
- Why it’s great: These are the industry standard for a reason. They use advanced materials that can handle the constant heating and cooling of your engine without getting brittle.
- Best for: Most standard vehicle repairs where you want a reliable, pre-formed gasket.
### Victor Reinz
- Why it’s great: If you are working on a European car (like a BMW or a VW), these are often the go-to. They are incredibly high quality and are frequently used as the original equipment (OEM).
- Best for: High-performance or European engine builds.
### Permatex Ultra Grey RTV
- Why it’s great: This is the gold standard for liquid sealants. It’s incredibly strong and stays flexible.
- Best for: When your engine requires a liquid seal rather than a traditional rubber or cork gasket.
FAQs
Can I ignore a small oil pan leak?
You could, but I wouldn’t recommend it. A small leak can eventually become a big one, and as your oil level drops, your engine’s internal parts don’t get the lubrication they need. Plus, oil dripping on a hot exhaust is a fire risk. Fix it while it’s a small job, not a big one.
Why did my gasket fail so soon?
It usually comes down to three things: heat, age, or bad installation. If the gasket was over-tightened during the last repair, it might have been crushed. If the engine runs extremely hot, the gasket can eventually dry out and crack.
Is it better to use RTV sealant or a pre-formed gasket?
Check your repair manual. Most engines are designed for one or the other. A pre-formed gasket is generally easier to install correctly, while RTV is great for sealing irregular surfaces or specific engine designs that require a liquid seal.
Will an engine degreaser damage my other seals?
Most standard degreasers are perfectly safe for automotive rubber and silicone. Just be sure to follow the directions on the bottle and don’t soak sensitive electrical components in it.
Can I use “Stop Leak” products to fix an oil pan gasket?
I’ve seen it tried, but it’s rarely a real fix. Most “Stop Leak” products are meant for internal cooling systems, not external oil leaks. They can also cause clogs in your oil passages, which is a recipe for engine failure.
How do I know if the leak is the oil pan or the oil filter?
The oil filter sits right near the bottom, so it can mimic an oil pan leak. The easiest way to tell is to check the filter first. If the filter is bone dry and the area around it is clean, but the seam of the oil pan is wet, then you know it’s the gasket.