Timing Cover Gasket Leak Symptoms, Diagnosis & Replacement Guide (2026)
Timing Cover Gasket Leak Symptoms, Diagnosis & Replacement Guide (2026)
We’ve all been there. You walk into your garage, look down at your driveway, and see that dreaded, dark, oily puddle staring back at you. Your heart sinks. You start thinking about the worst-case scenarios: “Is my engine blown?” or “Am I looking at a massive repair bill?”
Before you start panicking and calling the tow truck, take a breath. Most of the time, a puddle like that isn’t a death sentence for your car. Very often, what looks like a catastrophic engine failure is actually something much more manageable: a timing cover gasket leak.
Now, don’t get me wrong—I’m not saying you can just ignore it. A timing cover leak is one of those tricky, “sneaky” problems. If you let it go too long, that oil can migrate to your serpentine belt, causing it to slip or snap. It can also coat your clutch if you drive a manual, or even get into your alternator. But if you catch it early, it’s a fix you can often handle yourself.
In this guide, I’m going to walk you through exactly what a timing cover gasket is, how to tell if it’s actually leaking, and how you can perform a timing cover gasket replacement if you’ve got the tools and the patience.
What Exactly is a Timing Cover Gasket?
To understand why it leaks, you have to understand what the part actually does. Think of your engine as a high-speed dance between two main parts: the crankshaft (which moves the pistons) and the camshaft (which opens and closes your valves). To keep them in perfect rhythm, they are connected by either a timing belt or a timing chain.
The timing cover is the heavy-duty housing that protects those sensitive components. It keeps the dust, dirt, and road grime out of your timing system. But because the inside of your engine is full of pressurized oil, that cover needs a seal to keep the oil in.
That’s where the timing cover gasket comes in. It’s the barrier sitting between the cover and the engine block. Because this area is constantly dealing with heat cycles (getting hot when you drive and cold when you park) and constant vibration, the gasket is under a lot of stress. Over time, that material can get brittle, crack, or simply flatten out, which leads to a timing cover gasket leak.
Common Symptoms of a Timing Cover Gasket Leak
You don’t always need a mechanic to tell you something is wrong. Your car will usually give you a few hints if you know what to look for.
1. The “Wet Look” on the Engine
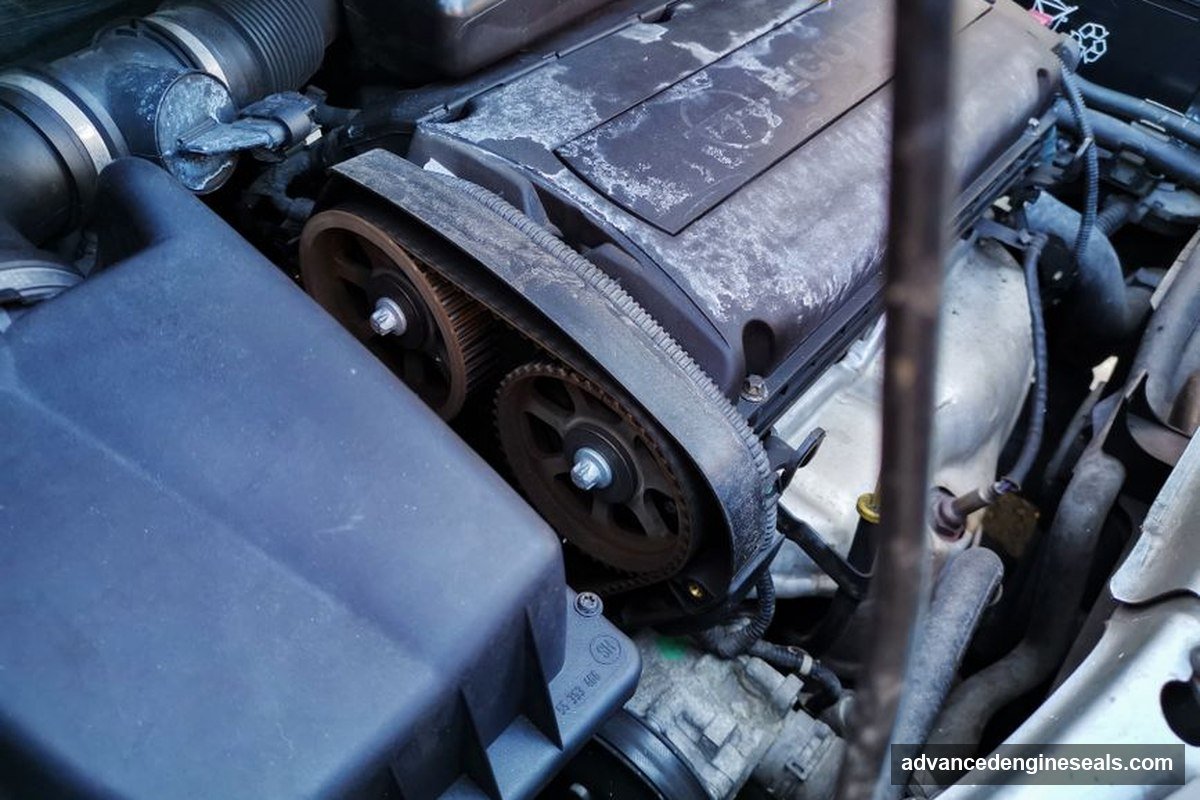
The most obvious sign is a visual one. If you pop the hood and look at the front of the engine block—the area near your drive belts—and you see a dark, shiny, “wet” appearance, you’ve got a leak. You might also see a thick, black, sludge-like buildup. That’s just oil that has been sitting there long enough to collect every bit of dust and dirt in the air.
2. That Burning Oil Smell
Have you ever been sitting in traffic and suddenly smelled something acrid, like something is burning? If a timing cover gasket leak allows oil to drip onto the hot exhaust manifold, it’s going to smoke and smell. It’s a very distinct, heavy smell that usually gets stronger once the engine has been running for a while.
3. Oil Puddles on the Ground
If you’re seeing consistent spots on your garage floor, it’s time to investigate. A tiny bit of “weeping” (where the oil just looks damp) might be okay on an older high-mileage vehicle, but a steady drip means the seal is officially compromised.
4. Squealing or Slipping Belts
This is a big one. If the oil from the leak travels down and coats your serpentine belt, the belt won’t be able to grip the pulleys properly. You might hear a high-pitched squeal, especially when you first start the car or when you’re turning the steering wheel. If it gets bad enough, the belt can slip off entirely, leaving you without power steering or a working alternator.
Pro tip: If you see oil on the ground, don’t just look at the puddle. Use a bright flashlight to look up at the engine. Oil is sneaky; it often leaks from a high point and “runs” down the side of the block, making it look like the leak is coming from somewhere lower down.
How to Diagnose: Is it the Gasket or the Seal?
This is where a lot of DIYers make a mistake. They see oil near the timing cover and assume they need a new gasket. But there’s a huge difference between a gasket leak and a crankshaft oil seal failure.
The “Clean and Watch” Method
The only way to be 100% sure is to get that area clean. You can’t diagnose a leak on a dirty engine. Here is how I do it:
- Degrease Everything: Use a good quality engine degreaser and a brush to clean the front of the engine thoroughly. You want to get rid of all that old, black sludge.
- Dry It Off: Use some compressed air or a clean rag to make sure there’s no degreaser or water left in the cracks.
- The Observation: Start the engine and let it get up to operating temperature. Watch it closely with a flashlight.
- If the oil is seeping from the seam where the cover meets the engine block, you have a timing cover gasket leak.
- If the oil is spraying or weeping from the very center of the cover (where the shaft comes out), you actually have a failed crankshaft oil seal.
Differentiating between these two is vital because, while the labor is often similar, the parts you need to buy are completely different.
The Difference Between Gaskets and Seals
I see this all the time in the shop: someone buys a gasket kit when they actually needed a seal kit.
- A Gasket is a flat piece of material (rubber, cork, or metal) that sits between two flat surfaces (the cover and the block).
- A Seal (or Oil Seal) is a round, rubberized ring that sits around a spinning shaft (like your crankshaft or camshaft).
If the leak is coming from the “seam,” it’s the gasket. If it’s coming from “around the spinning part,” it’s the seal. Always double-check your diagnosis before you head to the parts store!
Cost Breakdown: DIY vs. Professional Shop
If you’re deciding whether to tackle this yourself or hand the keys to a professional, here’s a rough idea of what you’re looking at.
| Component / Service | DIY Cost (Est.) | Professional Shop Cost (Est.) |
|---|---|---|
| Gasket or Seal Kit | $30 – $80 | Included in Labor |
| Cleaning & RTV Supplies | $20 – $40 | Included in Labor |
| Labor (2–6 Hours) | $0 | $300 – $900 |
| Total Estimated Cost | $50 – $120 | $350 – $1,000+ |
Note: These are estimates. Depending on your car, some timing covers are tucked behind the water pump or even the engine itself, which can drive labor costs way up.
Step-by-Step Timing Cover Gasket Replacement Guide
If you’ve done your homework and you’re ready to dive in, here is a basic roadmap. Every engine is a little different, so always check your specific service manual first.
Tools You’ll Need:
- A good socket set (Metric and SAE)
- A torque wrench (Do not skip this!)
- A plastic or brass scraper (Never use a steel one)
- Brake cleaner and lint-free rags
- A new gasket kit and high-quality RTV silicone sealant
1. Preparation
Disconnect the negative battery terminal. You’ll likely need to remove your serpentine belt, some pulleys, and maybe even some cooling hoses to get enough room to work. If your engine is a “longitudinal” setup (common in rear-wheel-drive cars), you might have an easier time. If it’s “transverse” (common in front-wheel-drive cars), be prepared for a tight squeeze.
2. Removing the Cover
Loosen the bolts on the timing cover. Don’t just yank it off. If it’s stuck, give it a gentle wiggle. If you try to pry it off with a heavy screwdriver, you risk bending the cover or, even worse, gouging the aluminum engine block.
3. Surface Preparation (The Most Important Part)
Listen to me on this: The repair is only as good as your cleaning. If there is even a tiny bit of old gasket material or oil left on those surfaces, your new gasket will leak.
* Use your plastic scraper to get the old gasket off.
* Use brake cleaner on a rag to wipe the surfaces until they are bone-dry and look like new.
* If there is any old, crusty RTV (silicone) left behind, you have to get it all off.
Pro tip: When cleaning aluminum engine housings, avoid steel scrapers or wire brushes. Aluminum is soft. If you scratch a “trench” into the mating surface, oil will find that path and leak right through it, no matter how much new sealant you use.
4. Installing the New Gasket
Most modern gaskets are pre-formed, so they don’t need much help. However, I usually recommend a very thin, even bead of RTV silicone at the “corners” or where the gasket meets an oil seal. Don’t go overboard—you don’t want big globs of silicone sliding off into your engine!
5. Torqueing the Bolts
This is where “backyard mechanics” and “pros” differ. You cannot just tighten these bolts until they feel “tight.” You must use a torque wrench.
* Follow the manufacturer’s torque sequence (usually a star or spiral pattern).
* Tighten them in stages: do a little bit of every bolt, then go to 50% torque, then go to the final spec.
* This ensures the cover is pressed down evenly. If you tighten one side too much, the cover can actually warp, creating a new leak.
OEM vs. Aftermarket: Which Should You Choose?
When you’re looking at parts, you’ll see a huge range of prices.
OEM (Original Equipment Manufacturer) parts are the exact ones the car was built with. They are usually more expensive, but they are guaranteed to fit and perform. If you have a high-performance or a very expensive vehicle, I always recommend going OEM.
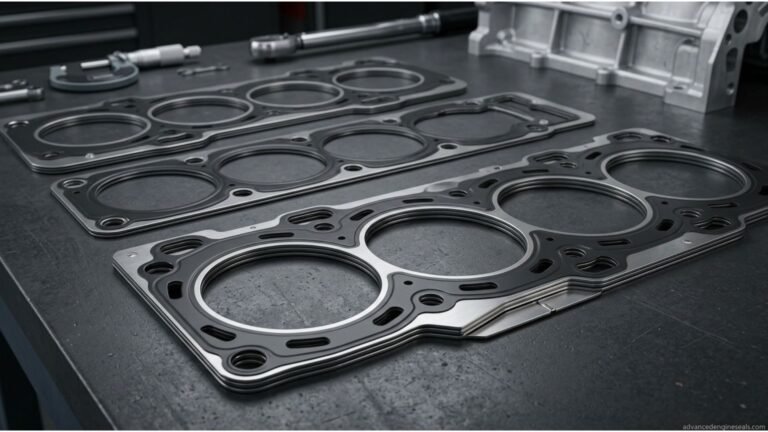
Aftermarket parts (like those from Fel-Pro) are great for most everyday drivers. They are designed to meet or exceed factory specs and are often much more affordable. Just avoid the “no-name” brands you find on random discount websites. If a gasket is too cheap, it’s probably because they used inferior materials that won’t stand up to engine heat.
Top Recommended Brands & Products
If you want to do the job right the first time, stick to the names that professional technicians trust.
### Fel-Pro Replacement Gaskets
- Why they’re great: Fel-Pro is the king of the aftermarket. They use special composite materials that actually help seal out imperfections in older engine blocks.
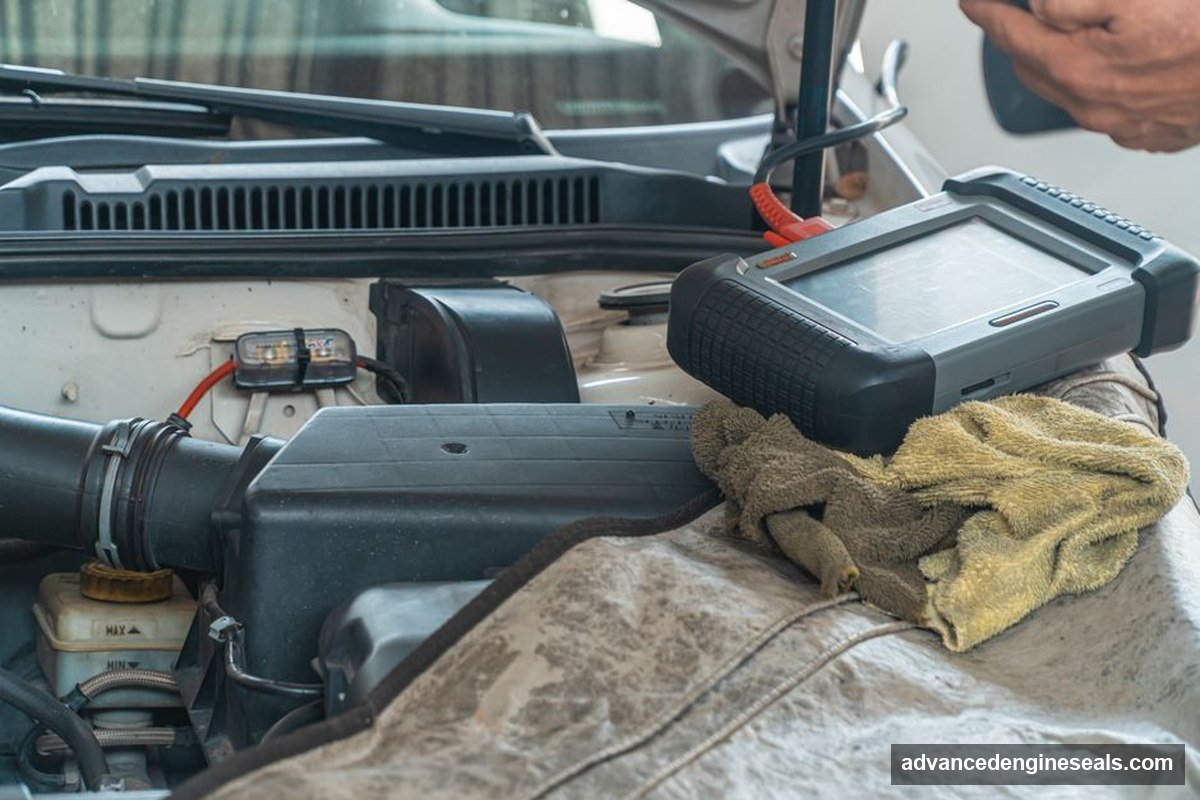
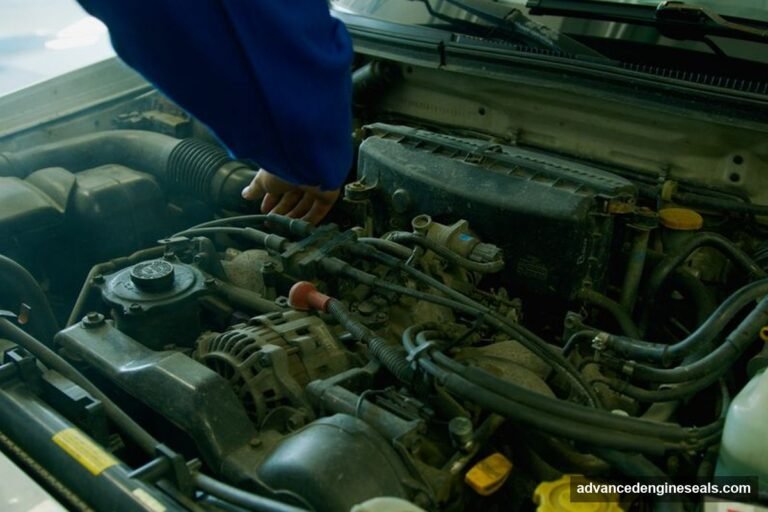
Inspecting engine for timing cover gasket leak
### Victor Reinz Seals
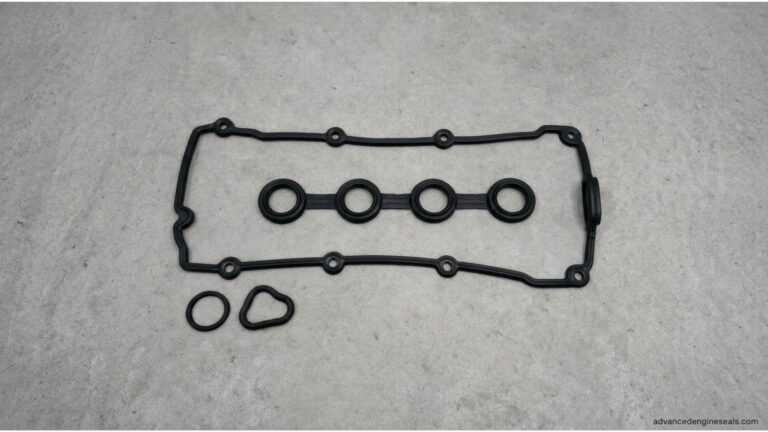
- Why they’re great: If you are working on a European car (like a BMW or VW), Victor Reinz is often the gold standard. They provide incredible OEM-quality seals.

High performance seal and timing cover gasket leak
### Permatex Ultra Grey RTV
- Why it’s great: For that extra bit of insurance, Permatex Ultra Grey is designed specifically for high-torque, high-vibration environments. It’s perfect for sealing those tricky joints.
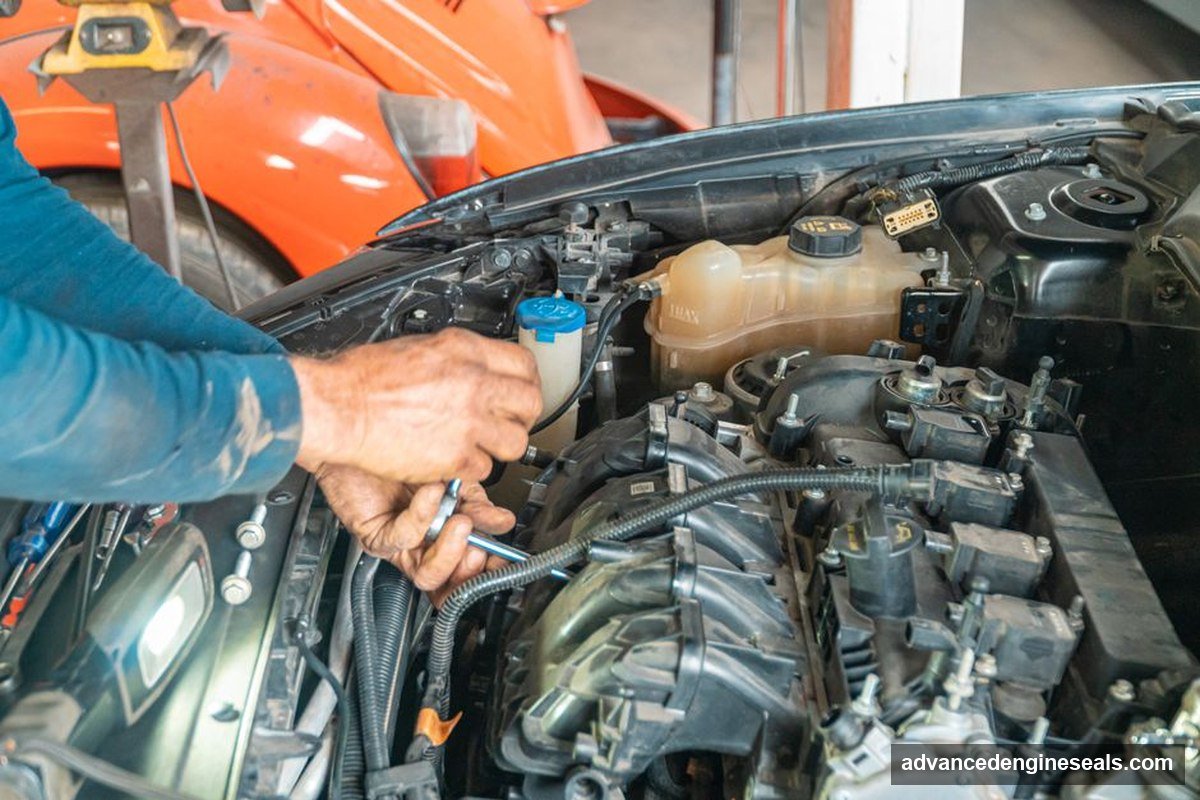
Torque tightening during timing cover gasket leak repair
FAQ: Common Questions About Timing Cover Leaks
“Can I just use RTV instead of a new gasket?”
Short answer: No. RTV is a supplement, not a replacement. A gasket provides the structural pressure needed to create a seal. If the gasket is old and flattened out, RTV will eventually get squeezed out, and you’ll be right back where you started.
“Will an oil leak ruin my timing belt?”
Yes, it can. If oil gets on a rubber timing belt, it will cause the rubber to swell and soften. This makes the belt much more likely to slip or snap. If you see oil near your belt, you should inspect it for any signs of “oily” texture or fraying.
“Is it safe to drive with a small leak?”
It’s not “dangerous” in the sense that your car will explode, but it is a risk. You have to monitor your oil level constantly. If that small leak turns into a spray or a heavy drip, you risk engine damage or even a fire if the oil hits a hot exhaust component.
“Why did my new gasket start leaking immediately?”
This usually comes down to two things: either the surfaces weren’t cleaned perfectly, or the bolts weren’t torqued in the correct sequence. Always take your time with the cleaning and always, always use a torque wrench.
Disclaimer: Working on an engine can be dangerous. Always follow the safety procedures in your vehicle’s service manual. If you aren’t comfortable performing these repairs, please take your vehicle to a certified professional.


2 Comments